Customizing List Styles with CSS: Dress Your Lists to Impress!
A guide to enhancing HTML lists with advanced CSS techniques
Introduction
Hey there, web wizards! 🧙♂️ Last time we dove into the essentials of HTML lists, understanding how they help us organize content in a user-friendly way. Now, let’s jazz things up a bit! It's time to move from basic lists to beautifully styled masterpieces with the magic of CSS. Just as Edna from The Incredibles says, “Darling, it's all about detail.” So, let's get those details right!
Step 1: Clearing the Default Styling 🚫
First things first, let’s strip away those default styles that browsers apply to lists. This is like setting a blank canvas before you start painting:
ul,
ol {
  list-style-type: none; /* No bullets or numbers */
  padding: 0;
  margin: 0;
}
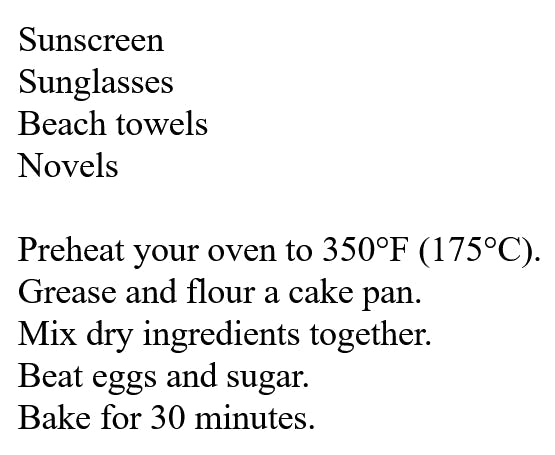
This CSS removes bullets/numbers and resets padding and margins, giving you full control over the list's appearance.
Step 2: Spicing Up Bullets and Numbers 🎨
Basic Customization
Now, let's add our own style! For unordered lists, you might go for something simple yet classy:
ul {
  list-style-type: square; /* Or circle, disc, etc. */
}
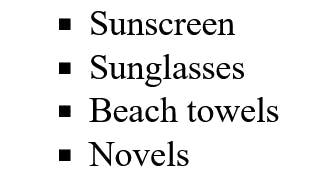
For ordered lists, choosing a different numbering style could spice things up:
ol {
  list-style-type: upper-roman; /* Classic Roman numerals */
}

Getting Creative with Custom Bullets
Want to get more creative? Replace standard bullets with images or emojis. This is like choosing the perfect accessories for your outfit:
ul.custom-bullets {
  list-style-type: none;
}

ul.custom-bullets li::before {
  content: "🌟"; /* Sparkle bullets! */
  padding-right: 10px;
}
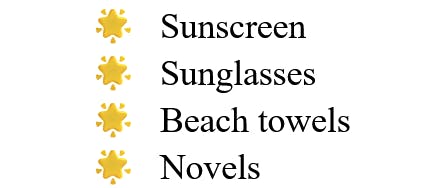
This CSS uses a pseudo-element to add a sparkle emoji before each list item, making your list pop with personality!
Step 3: Adjusting Spacing for Readability 📏
Spacing is key to making your list readable. Let's adjust the padding and margin to ensure your content breathes:
ul,
ol {
  padding-left: 20px; /* Adds space inside the list */
  margin-bottom: 20px; /* Adds space below the list */
}
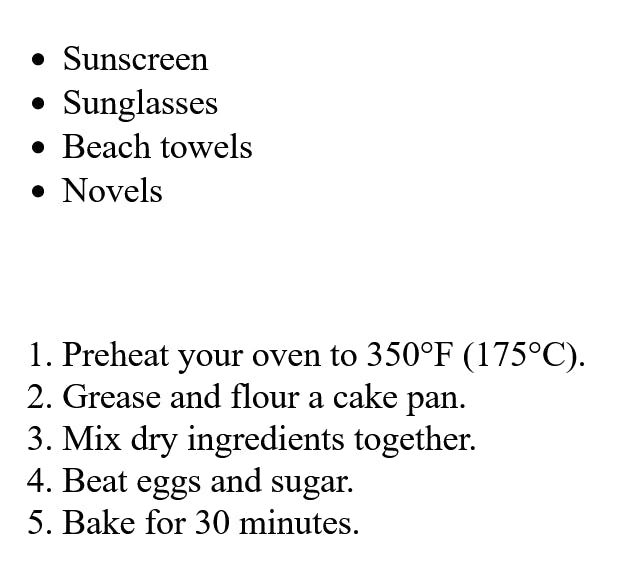
These adjustments help your lists stand out from the rest of the content, making them easier on the eyes.
Step 4: Positioning Your List Style 📍
Sometimes, the default positioning of list markers doesn't cut it. Use list-style-position to tweak where your bullets or numbers sit:
ul {
  list-style-position: inside; /* Bullets inside the content area */
}
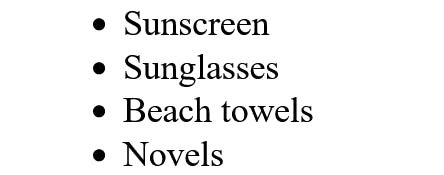
Setting it to inside can change the look dramatically, often used for a more streamlined appearance.
Putting It All Together: A Stylish List Showcase 🌈
Let's see everything in action with a fully styled list:
<!DOCTYPE html>
<html lang="en">
<head>
  <meta charset="UTF-8" />
  <meta name="viewport" content="width=device-width, initial-scale=1.0" />
  <title>Document</title>
  <style>
    ul.custom-bullets {
      list-style-type: none;
      padding-left: 20px;
      margin-bottom: 20px;
    }

    ul.custom-bullets li::before {
      content: "🌟";
      padding-right: 10px;
    }

    ul {
      list-style-position: inside;
    }
  </style>
</head>
<body>
  <ul class="custom-bullets">
    <li>Dynamic Design</li>
    <li>Responsive Layouts</li>
    <li>Interactive Elements</li>
  </ul>
</body>
</html>
This setup not only makes your list unique but also integrates seamlessly with your site's overall design.
And there you have it! You've gone from basic lists to custom-tailored displays of information. Remember, like any good design, it’s all about expressing your style and enhancing user experience. Experiment with different styles and see what best fits your site's personality.
Next up, we’ll explore how to create list using CSS counters. Stay tuned, and keep listing! 🎨👩💻
